MariaDB
MariaDB is a versatile open-source relational database management system used for high-availability transaction data, analytics, as an embedded server, and is widely supported by various tools and applications. TapData Cloud provides comprehensive support for building data pipelines utilizing MariaDB as both the source and target database.
This article serves as a detailed guide, outlining the steps to seamlessly incorporate a MariaDB database into TapData Cloud, enabling efficient data integration and management within your pipelines.
Supported versions
MariaDB 10.x
Maturity Stage
Beta Data SourcePreparations
Before establishing the connection, it is essential to complete the necessary preparations outlined in the provided article. These preparations may include authorizing an account and performing other relevant steps to ensure a smooth and secure connection.
As Source Database
To ensure smooth execution of tasks, you need to enable Binlog in the MariaDB database (for incremental data synchronization) and then create a database account for data replication/development tasks.
Log into the MariaDB database and execute the following format of command to create an account for data synchronization/development tasks.
CREATE USER 'username'@'host' IDENTIFIED BY 'password'- username: Enter user name.
- password: Enter password.
- host: Enter the host that can be accessed by the account, percent (%) means to allow all host. Example: Create an account named tapdata:
CREATE USER 'tapdata'@'%' IDENTIFIED BY 'Tap@123456';
Grant privileges to the newly created account. Below is a simplified example, and it is recommended to set more detailed permissions based on business needs.
- Grant Specific Database Permissions
- Grant All Database Permissions
GRANT REPLICATION SLAVE, REPLICATION CLIENT ON *.* TO 'username' IDENTIFIED BY 'password';
GRANT SELECT ON database_name.* TO 'username' IDENTIFIED BY 'password';
GRANT REPLICATION SLAVE, REPLICATION CLIENT ON *.* TO 'username' IDENTIFIED BY 'password';
GRANT SELECT ON *.* TO 'username' IDENTIFIED BY 'password';
- username: Enter user name.
- password: Enter password.
- host: Enter the host that can be accessed by the account, percent (%) means to allow all host.
To ensure access to incremental data from the MariaDB database, follow the steps below to enable Binlog.
Use the
vimcommand to modify the configuration of MariaDB. For instance:In the scenario demonstrated in this article, MariaDB is deployed on the Ubuntu operating system, and the configuration file is located at
/etc/mysql/mariadb.cnf. For more information, see MariaDB Configuration File Introduction.[mysqld]
server-id = 1
log_bin = /var/log/mysql/myriadb-bin
expire_logs_days = 10
max_binlog_size = 100M
binlog_format = ROW
binlog_row_image = FULL- server_id: Must be unique for each server and replication client in MariaDB, set as an integer greater than 0.
- log_bin: The base name of the binlog file.
- expire_logs_days: The number of days to keep binary log files before automatic deletion.
- max_binlog_size: The maximum size of a single binlog file.
- binlog_format: Set to row, which records which rows were modified.
- binlog_row_image: Set to full, recording data for all columns, whether they changed or not.
After modification, execute the following command to restart the MariaDB database. Perform this during off-peak hours to avoid impacting services.
systemctl restart mariadb(Optional) Log into the MariaDB database and execute the following command to confirm that the configuration has taken effect, i.e., the output shows format as ROW.
SHOW VARIABLES LIKE 'binlog_format';Example output:
+---------------+-------+
| Variable_name | Value |
+---------------+-------+
| binlog_format | ROW   |
+---------------+-------+
1 row in set (0.00 sec)
As Target Database
Log into the MariaDB database and execute the following format of command to create an account for data synchronization/development tasks.
CREATE USER 'username'@'host' IDENTIFIED BY 'password'- username: Enter user name.
- password: Enter password.
- host: Enter the host that can be accessed by the account, percent (%) means to allow all host. Example: Create an account named tapdata:
CREATE USER 'tapdata'@'%' IDENTIFIED BY 'Tap@123456';
Grant privileges to the newly created account.
- Grant Specific Database Permissions
- Grant All Database Permissions
GRANT SELECT, INSERT, UPDATE, DELETE, ALTER, CREATE, CREATE ROUTINE, CREATE TEMPORARY TABLES,
DROP ON database_name.* TO 'username';
GRANT SELECT, INSERT, UPDATE, DELETE, ALTER, CREATE, CREATE ROUTINE, CREATE TEMPORARY TABLES,
DROP ON *.* TO 'username';
- database_name: The name of the database to which permissions are granted.
- username: Enter user name.
Enabling SSL Connection (Optional)
To further enhance the security of the data link, you can choose to enable SSL (Secure Sockets Layer) encryption for the MariaDB database. This ensures encryption at the transport layer for network connections, enhancing communication data security while maintaining data integrity. The specific steps are as follows:
Create SSL certificates and private keys, which can be self-signed or obtained from a certificate authority.
Next, we will demonstrate how to create a self-signed certificate using OpenSSL. Before proceeding, you can log into the MariaDB database and execute
SHOW GLOBAL VARIABLES LIKE '%ssl%';to check if SSL/RSA files have been generated and the SSL status.Log into the device hosting the MariaDB database and execute the following commands to generate a CA certificate. For more information, see OpenSSL.
# Create and enter the directory where the certificate files will be stored, adjust as needed
mkdir -p /etc/mysql/ssl&&cd /etc/mysql/ssl
# Generate the CA certificate
openssl genrsa 2048 > ca-key.pem
openssl req -new -x509 -nodes -days 365000 -key ca-key.pem -out ca-cert.pem
Generate server certificates and keys, which will be used for server-side SSL encryption.
openssl req -newkey rsa:2048 -days 365000 -nodes -keyout server-key.pem -out server-req.pem
openssl rsa -in server-key.pem -out server-key.pem
openssl x509 -req -in server-req.pem -days 365000 -CA ca-cert.pem -CAkey ca-key.pem -set_serial 01 -out server-cert.pem
Generate client certificates and keys for two-way authentication.
openssl req -newkey rsa:2048 -days 365000 -nodes -keyout client-key.pem -out client-req.pem
openssl rsa -in client-key.pem -out client-key.pem
openssl x509 -req -in client-req.pem -days 365000 -CA ca-cert.pem -CAkey ca-key.pem -set_serial 01 -out client-cert.pem
Verify the correctness of the keys, returning
OKif there are no issues.openssl verify -CAfile ca-cert.pem server-cert.pem
openssl verify -CAfile ca-cert.pem client-cert.pem
Edit the configuration file of MariaDB, adding the following content in the
[mysqld]section. Replacefilepathwith the path where the CA certificate files are located. Save and exit the editor after making changes.In this case, MariaDB is deployed on the Ubuntu operating system, and the configuration file is located at
/etc/mysql/mariadb.cnf. For more information, see MariaDB Configuration File Introduction.[mysqld]
# Self-signed CA certificate
ssl-ca=/etc/mysql/ssl/ca-cert.pem
# Server certificate file
ssl-cert=/etc/mysql/ssl/server-cert.pem
# Server private key file
ssl-key=/etc/mysql/ssl/server-key.pem
[client]
# Certificate file required for the client to connect to the server
ssl-cert=/etc/mysql/ssl/client-cert.pem
# Private key file required for the client to connect to the server
ssl-key=/etc/mysql/ssl/client-key.pemExecute the following command to adjust the permissions of the certificate files.
chown -R mysql:mysql /etc/mysql/ssl/Log into the MariaDB database and choose to execute the following format of commands to adjust the account for data synchronization/development tasks.
ALTER USER 'username'@'host' REQUIRE x509; -- Force the client to provide a valid certificate
ALTER USER 'username'@'host' REQUIRE ssl; -- Do not force the client to provide a valid certificate
FLUSH PRIVILEGES;- username: Enter user name.
- host: Enter the host that can be accessed by the account, percent (%) means to allow all host.
Restart the MariaDB database.
systemctl restart mariadb
Connect to MariaDB
In the left navigation panel, click Connections.
On the right side of the page, click Create.
In the pop-up dialog, search and select MariaDB.
On the page that you are redirected to, follow the instructions below to fill in the connection information for MariaDB.
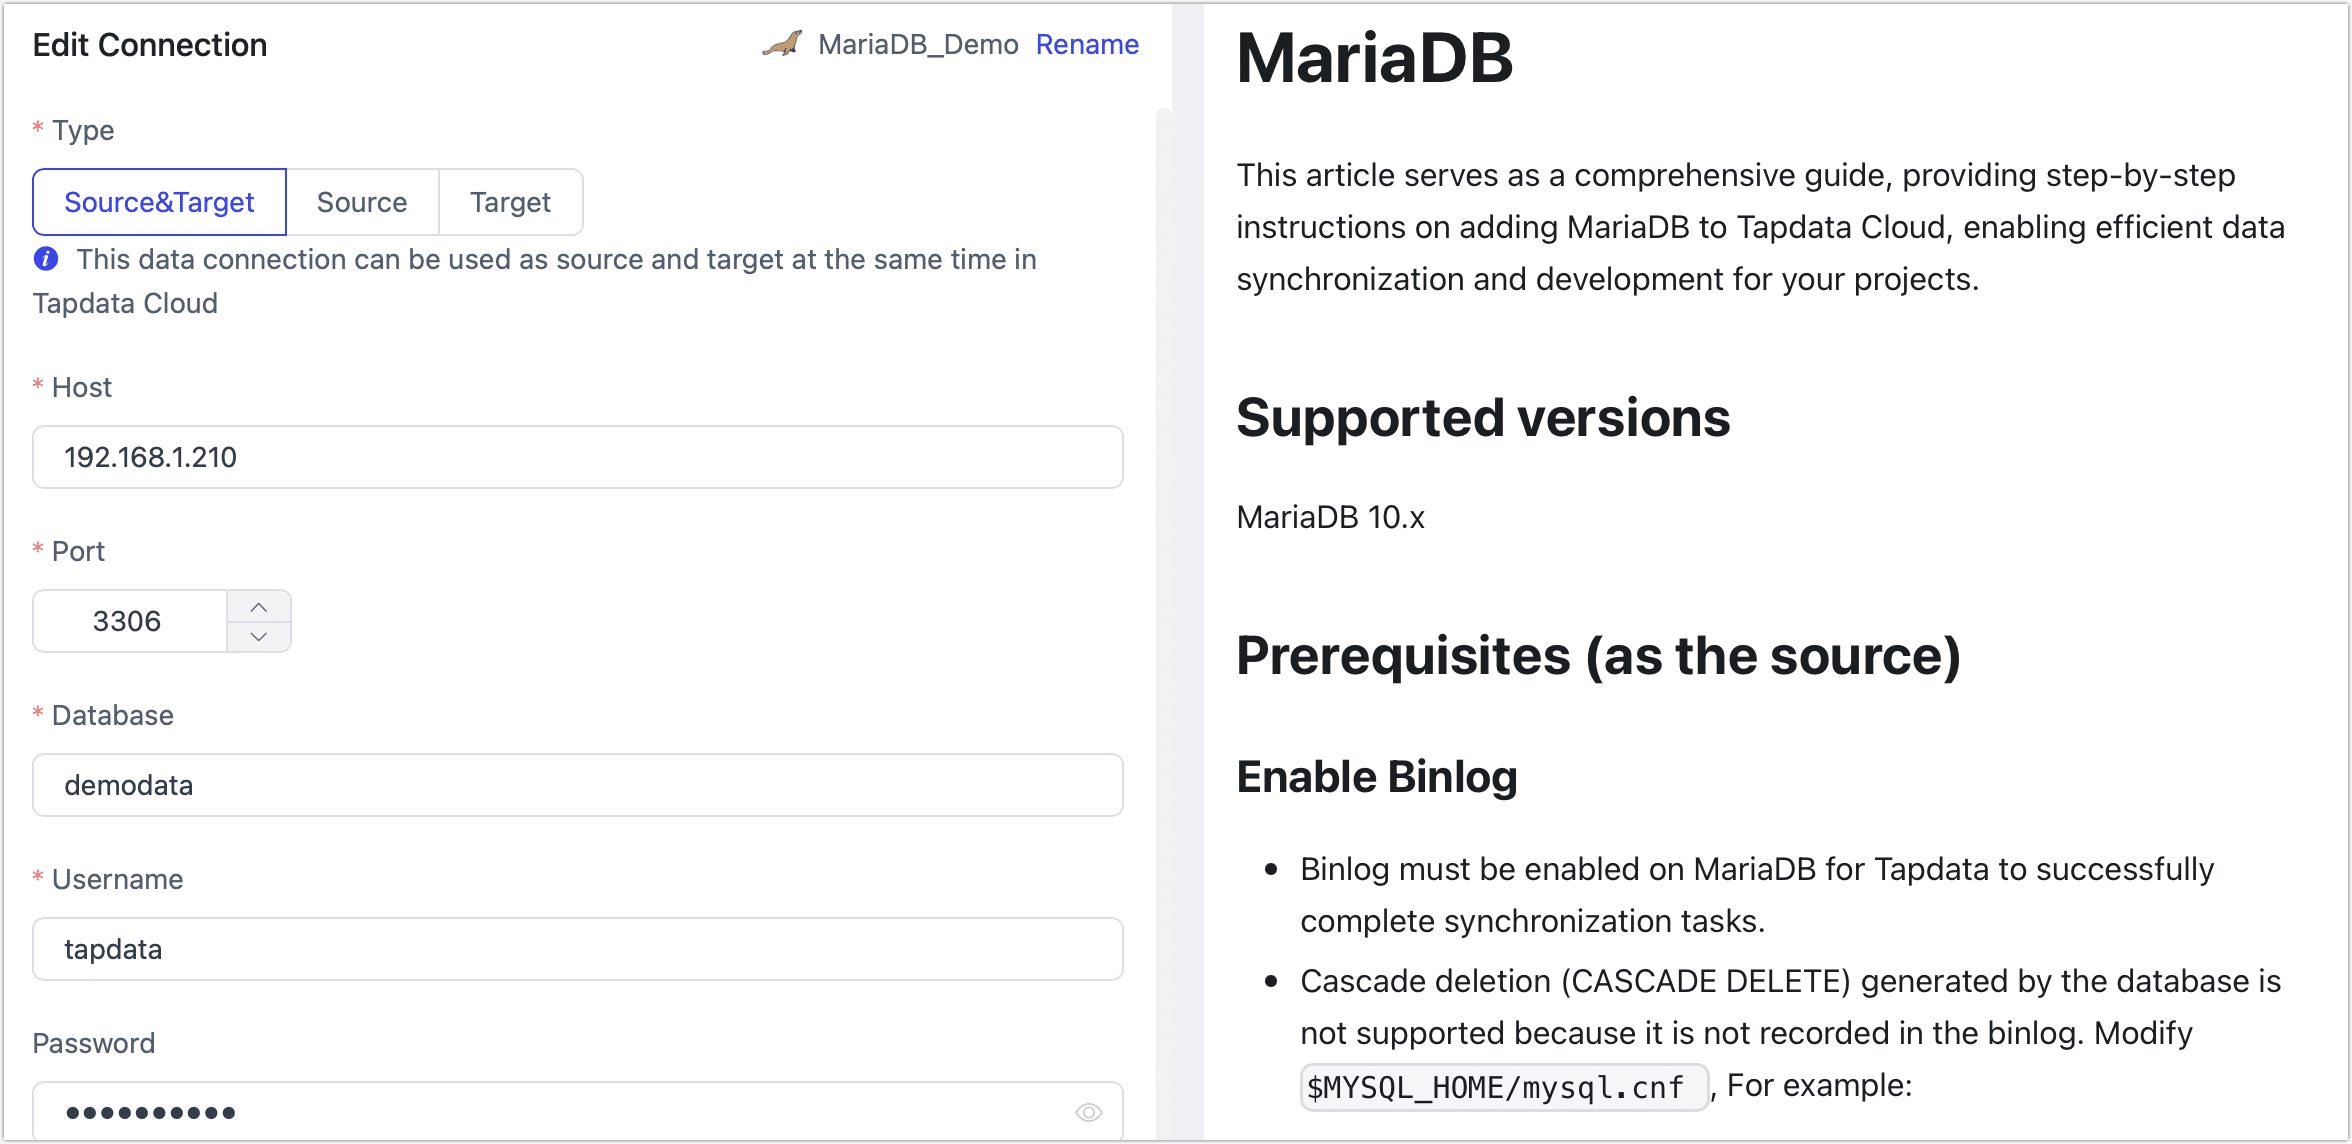
Connection Information Settings
- Connection name: Fill in a unique name that has business significance.
- Connection type: Supports MariaDB as a source or target database.
- Host: The database connection address.
- Port: The service port of database.
- Database: Database name, a connection corresponding to a database, if there are multiple databases, you need to create multiple connections.
- username: The database username.
- Password: The database password.
- Connection parameter string: Additional connection parameters, default empty.
Advanced settings
Timezone: By default, TapData Cloud utilizes the time zone used by the database. However, you also have the flexibility to manually specify the time zone based on your business requirements.
For instance, let's consider a scenario where the source database operates in the default database time zone (+8:00), while the target database has a specified time zone of +0:00. In this case, if the source database stores a timestamp as 2020-01-01 16:00:00, the same timestamp will be interpreted as 2020-01-01 08:00:00 in the target database due to the time zone conversion.
Contain table: The default option is All, which includes all tables. Alternatively, you can select Custom and manually specify the desired tables by separating their names with commas (,).
Exclude tables: Once the switch is enabled, you have the option to specify tables to be excluded. You can do this by listing the table names separated by commas (,) in case there are multiple tables to be excluded.
Agent settings: Defaults to Platform automatic allocation, you can also manually specify an agent.
Model load time: If there are less than 10,000 models in the data source, their information will be updated every hour. But if the number of models exceeds 10,000, the refresh will take place daily at the time you have specified.
SSL Settings: Choose whether to enable SSL connections for the data source, which can further enhance data security. After turn on the switch, you will need to upload CA files, client certificates, client key files, etc. The related files can be obtained as outlined in the Enabling SSL Connection section.
Click Connection Test, and when passed, click Save.
tipIf the connection test fails, follow the prompts on the page to fix it.