KingbaseES-R6
KingbaseES is a commercial relational database management system (RDBMS) developed by Beijing Kingbase Technology Inc. KingbaseES-R6 is compatible with most features of PostgreSQL 9.6. This document will guide you on how to add KingbaseES-R6 as a data source in TapData and use it as either a source or target database to build data pipelines.
Supported Versions and Architecture
KingbaseES R6 V8 to V9 in single-node architecture
KingbaseES-R6 supports database modes for Oracle, PostgreSQL, and MySQL. Note that in Oracle mode, object names are in lowercase by default. For more information, see the Kingbase ES official documentation.
Supported Data Types
| Category | Data Types |
|---|---|
| String and Text | character, character varying, text |
| Numeric Types | smallint, integer, bigint, numeric, real, double precision |
| Date and Time | date, timestamp (without time zone), timestamp with time zone, time (without time zone), time with time zone, interval |
| Binary and Bit Types | bytea, bit, bit varying |
| Boolean Type | boolean |
| Network and Identifiers | cidr, inet, macaddr, uuid |
| Geometric Data Types | point, line, lseg, box, path, polygon, circle |
| XML and JSON | xml, json |
| Array Type | array (not supported when using the Walminer plugin for incremental data capture) |
Supported Operations for Sync
INSERT, UPDATE, DELETE
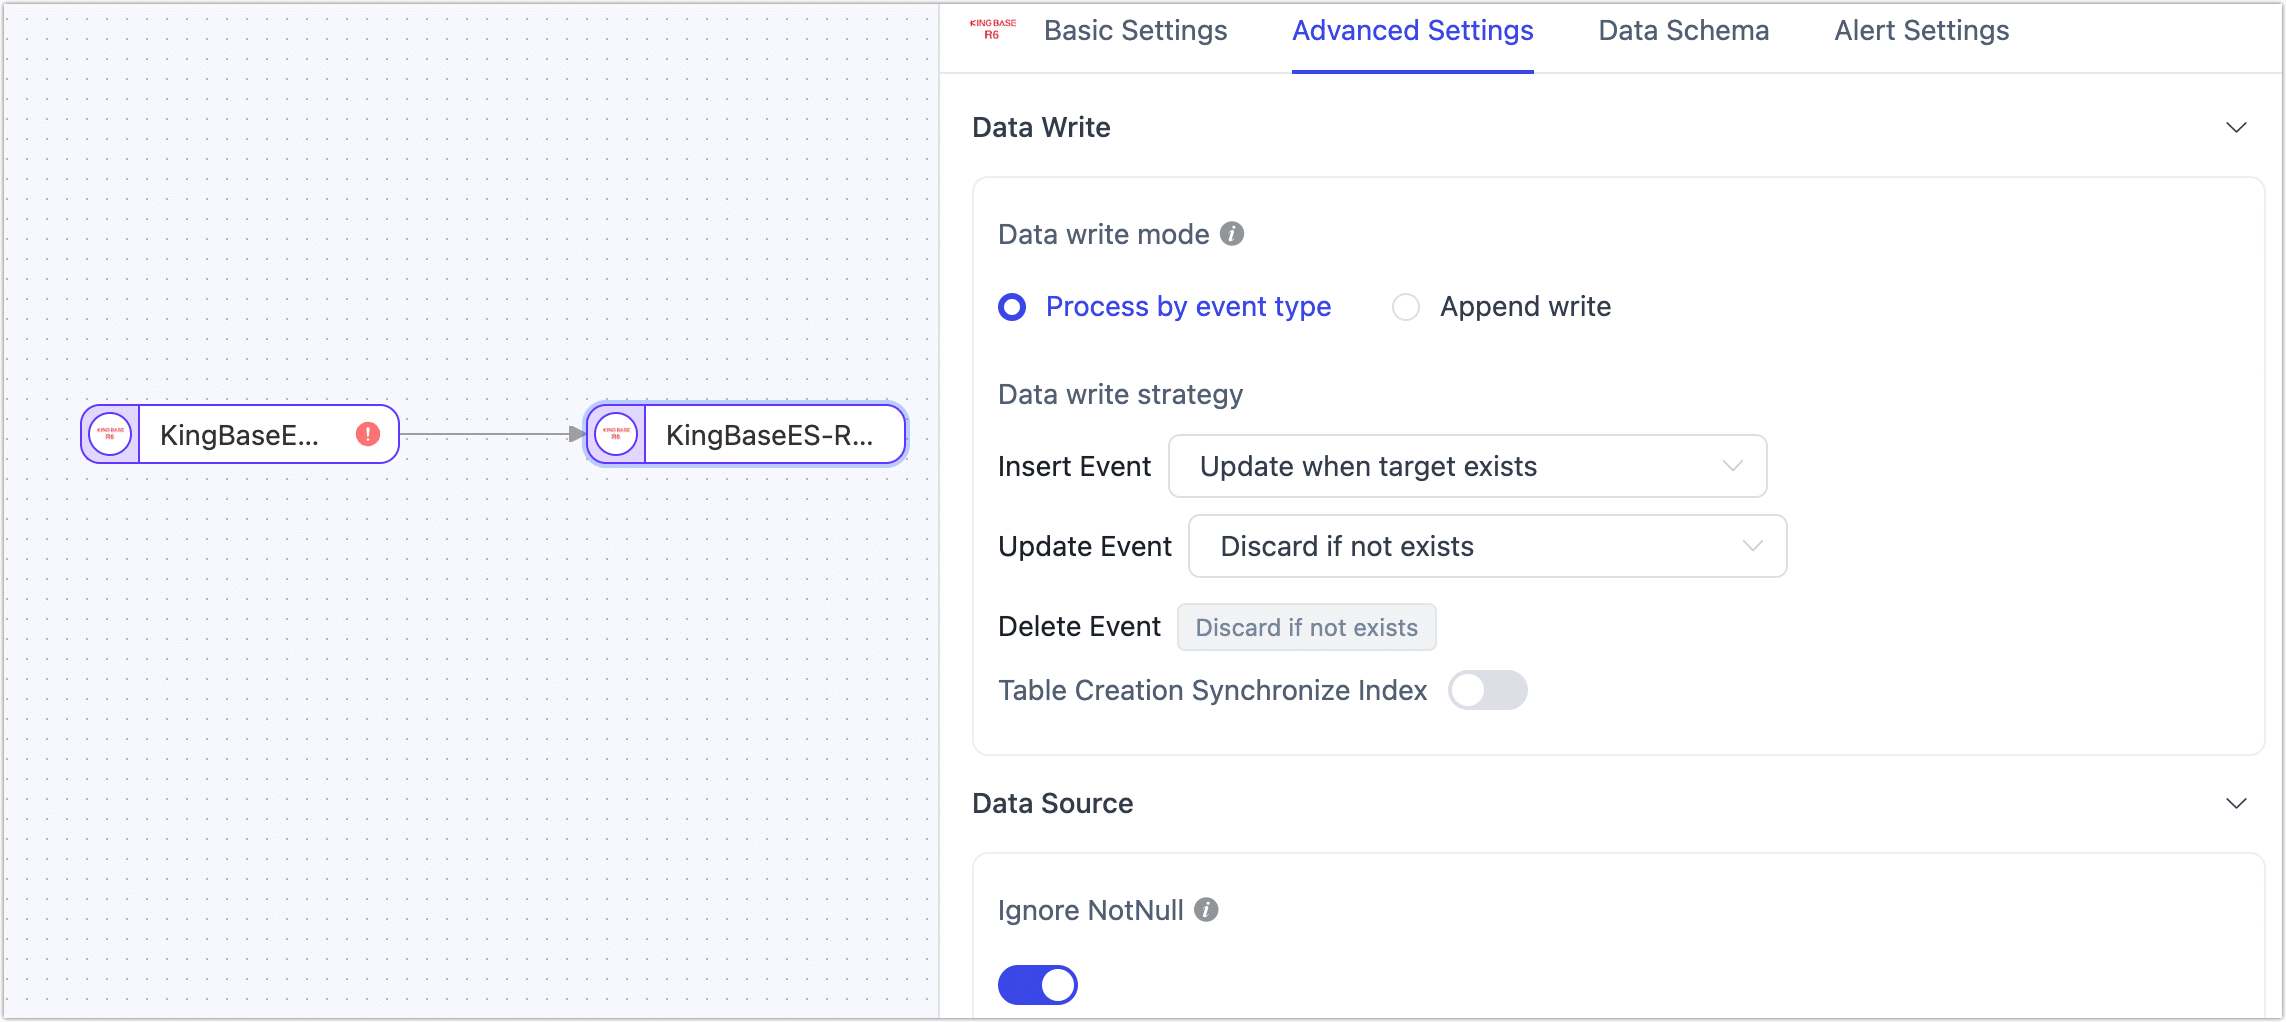
When KingbaseES-R6 is used as a target, you can choose write strategies through the advanced configuration of task nodes, such as updating or discarding on insert conflicts and inserting or just logging on update failures. You can also apply and execute source-database parsed operations like ADD COLUMN, CHANGE COLUMN, DROP COLUMN, and RENAME COLUMN.
Limitations
- When KingbaseES-R6 is used as a source database, capturing its DDL (like adding fields) is not supported, nor is specifying a time for incremental data capture.
- KingbaseES-R6 does not support storing
\0in string types; TapData will automatically filter it to avoid exceptions. - The Walminer plugin currently only supports connecting and merging shared mining.
Considerations
- When using log-based plugins that rely on replication slots (e.g., wal2json), too many shared mining processes may cause WAL log accumulation, increasing disk pressure. It's recommended to reduce the number of mining processes or promptly delete unnecessary CDC tasks and replication slots.
- Plugins based on WAL logs (e.g., walminer) will frequently read and write to the
walminer_contentstable during shared mining, generating some load. However, since only single-task mining is currently supported, the impact is relatively small.
Prerequisites
As a Source Database
Log in to the KingbaseES-R6 database as an administrator.
Run the following command to create a user for data synchronization/development tasks.
CREATE USER username WITH PASSWORD 'password';- username: The username.
- password: The password.
Grant the necessary permissions to the newly created account based on your business requirements.
- Read Full Data Only
- Read Full and Incremental Data
-- Connect to the database
\c database_name

-- Grant SELECT privileges on all tables in the target Schema
GRANT SELECT ON ALL TABLES IN SCHEMA schema_name TO username;

-- Grant USAGE privilege on the target Schema
GRANT USAGE ON SCHEMA schema_name TO username;
-- Connect to the database
\c database_name
-- Grant SELECT privileges on all tables in the target Schema
GRANT SELECT ON ALL TABLES IN SCHEMA schema_name TO username;
-- Grant USAGE privilege on the target Schema
GRANT USAGE ON SCHEMA schema_name TO username;
-- Grant replication privilege
ALTER USER username REPLICATION;- database_name: The database name.
- schema_name: The Schema name.
- username: The username.
To capture incremental data from the source, follow these additional steps:
Modify the replication identity to FULL (logging the entire row for UPDATE/DELETE operations):
ALTER TABLE schema_name.table_name REPLICA IDENTITY FULL;- schema_name: The Schema name.
- table_name: The table name.
Edit the
kingbase.conffile, setwal_leveltological, and increase themax_replication_slotsvalue as shown below:wal_level = logical
# Set max_replication_slots to at least the number of tasks mining this source
max_replication_slots = 30Update the
sys_hba.conffile to grant access permissions for the newly created user.# Replace username with the created user
local replication username trust
host replication username 0.0.0.0/32 md5
host replication username ::1/128 trustInstall the log plugin:
wal2json: Log in to the server where KingbaseES-R6 is hosted and follow the steps below to compile the plugin. After compilation, copy the generated
wal2json.sofile to the corresponding KingbaseES-R6 directory. In this example, the directory is/home/kingbase5b/ES/V8/KESRealPro/V008R006C005B0054/Server/lib/.# Download wal2json plugin
git clone https://github.com/eulerto/wal2json.git && cd wal2json
# Modify the Makefile content:
PG_CONFIG = pg_config
PGXS := $(shell $(PG_CONFIG) --pgxs)
# Replace with:
PG_CONFIG = sys_config
PGXS := $(shell $(PG_CONFIG) --sysxs)
# Switch user
su kingbase
# Copy resource files
cp -a /home/kingbase/ES/V8/KESRealPro/V008R006C005B0054/Server/lib/plc/.server /home/kingbase/ES/V8/KESRealPro/V008R006C005B0054/Server/include/server
# Run make to generate wal2json.so in the directory
makewalminer: Available in versions V87B and above. For usage details, see the WalMiner Example. This method does not rely on logical replication, does not require setting
wal_leveltological, nor adjusting replication slots, but requires superuser privileges.
As a Target Database
Log in to the KingbaseES-R6 database as an administrator.
Run the following command to create a user for data synchronization/development tasks.
CREATE USER username WITH PASSWORD 'password';- username: The username.
- password: The password.
Grant the necessary permissions based on your business needs.
-- Connect to the database
\c database_name;

-- Grant USAGE and CREATE privileges on the target Schema
GRANT CREATE, USAGE ON SCHEMA schema_name TO username;

-- Grant read and write privileges on all tables in the target Schema
GRANT SELECT, INSERT, UPDATE, DELETE, TRUNCATE ON ALL TABLES IN SCHEMA schema_name TO username;- database_name: The database name.
- schema_name: The Schema name.
- username: The username.
Connect to KingbaseES-R6
In the left-hand navigation bar, click Connections.
On the right side of the page, click Create.
In the pop-up dialog, search for and select KingbaseES-R6.
On the next page, fill in the KingbaseES-R6 connection information as described below.
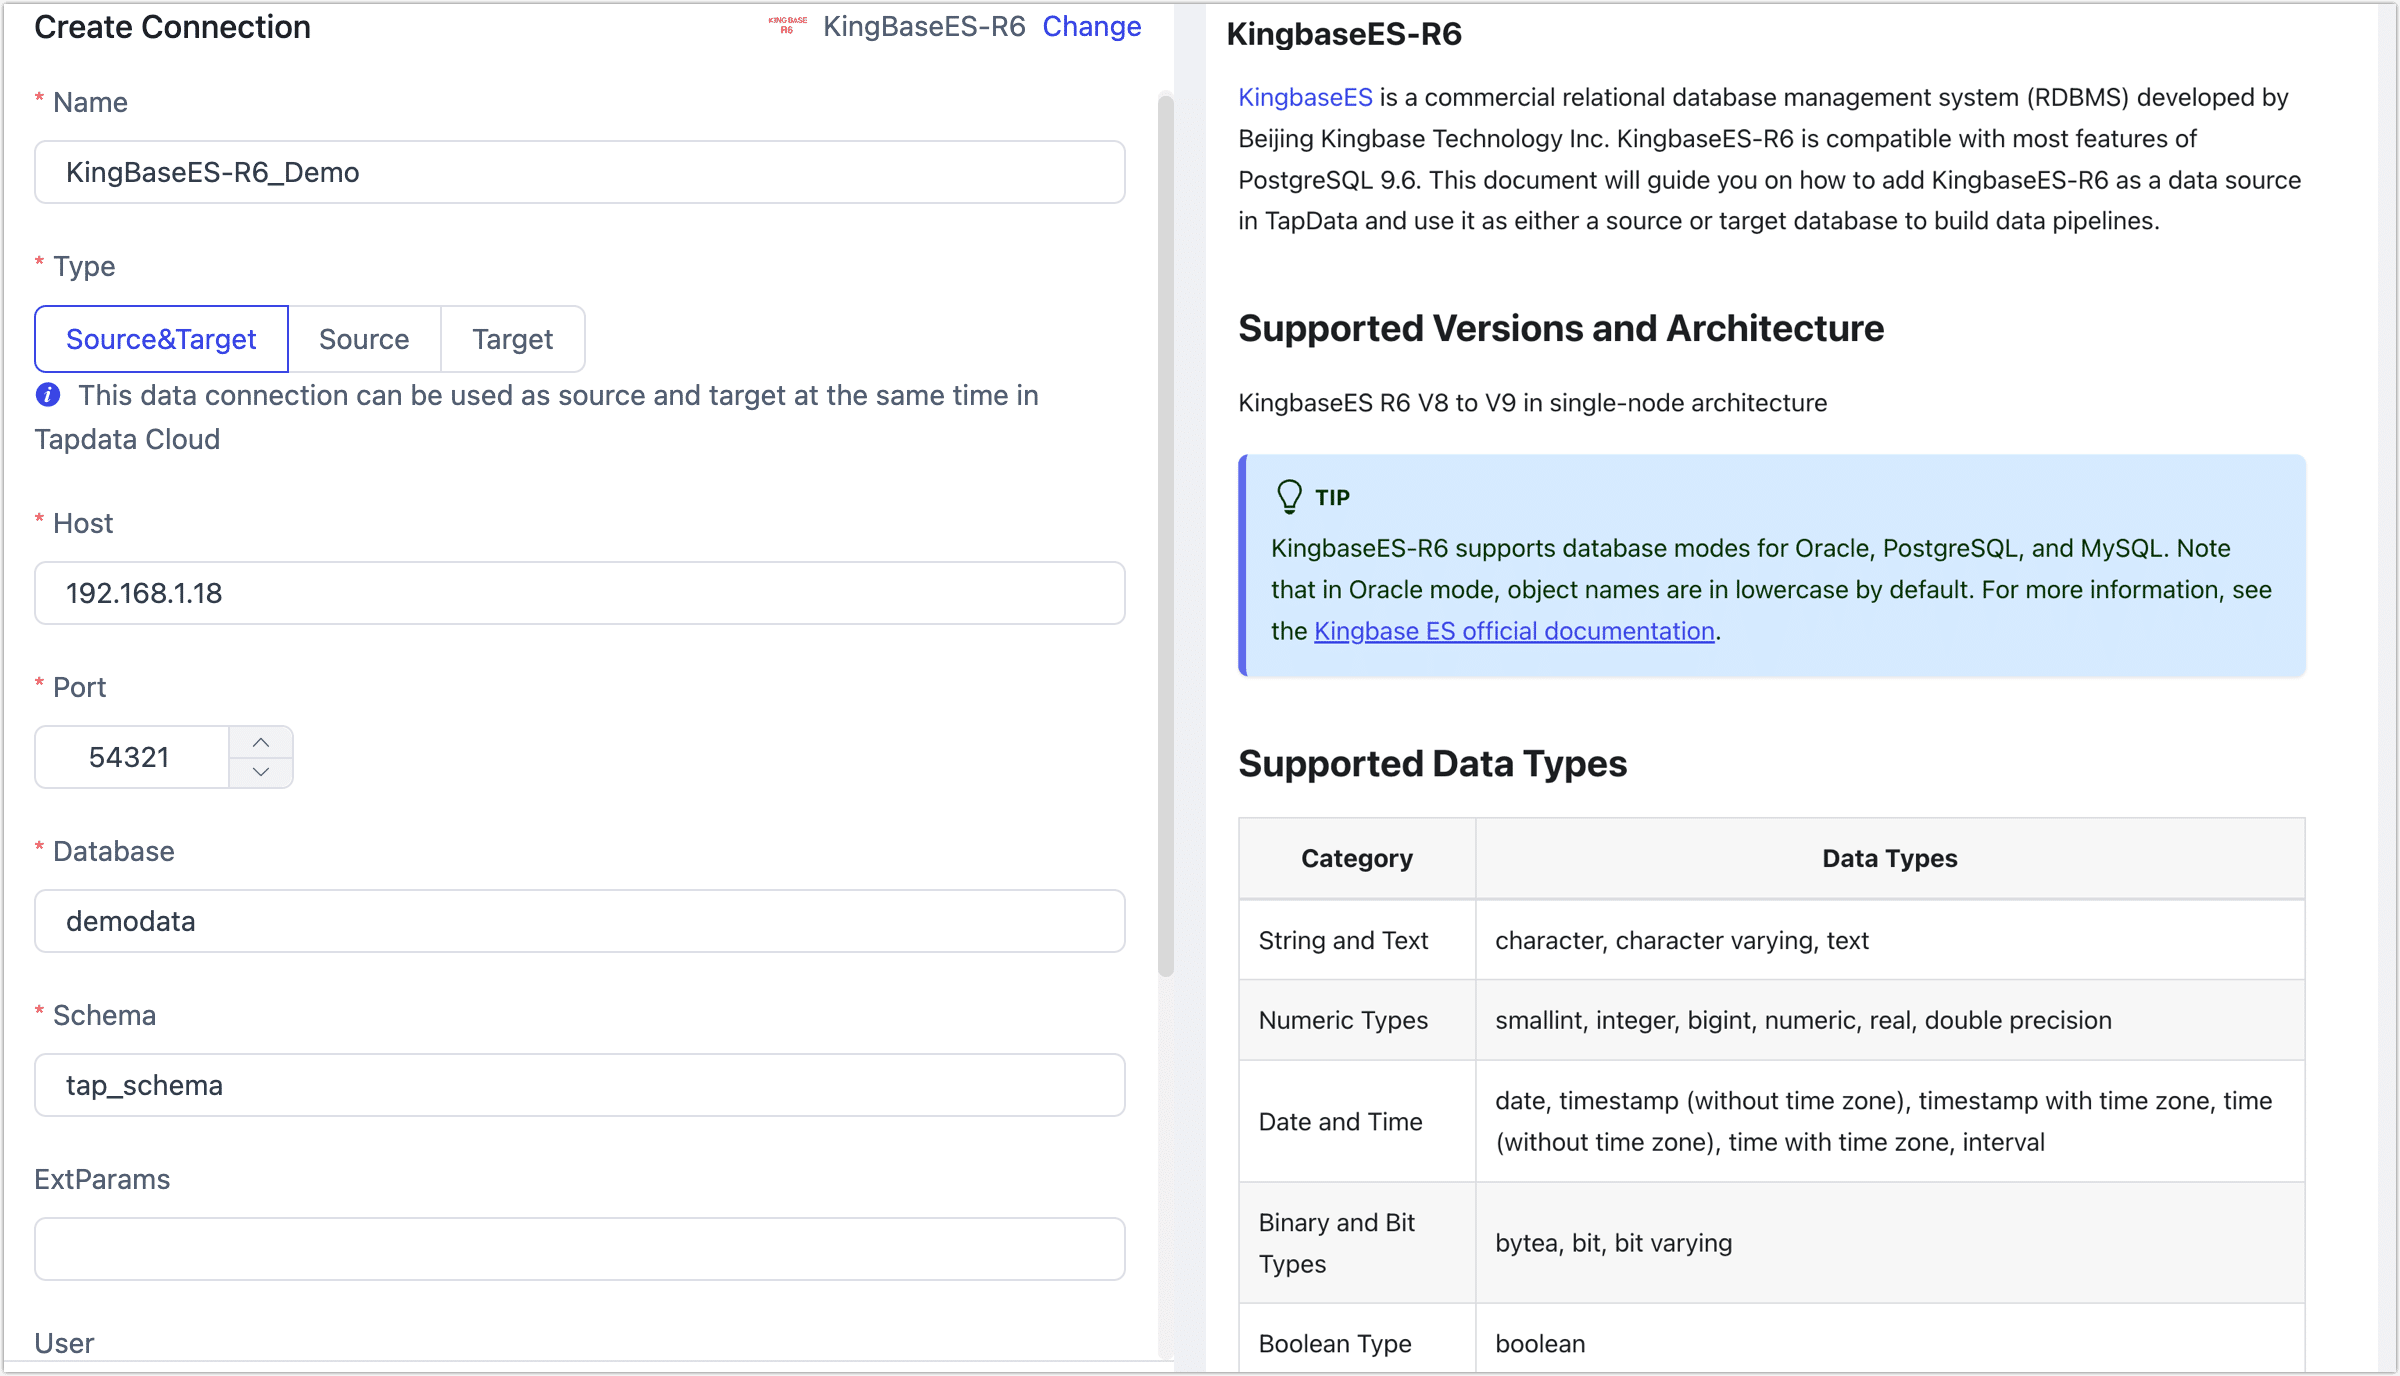
- Connection Settings:
- Name: Enter a unique name with business relevance.
- Type: Select KingbaseES-R6 as the source or target database.
- Host: The database connection address.
- Port: The database service port, default is 54321.
- Database: The database name, each connection corresponds to one database; if you have multiple databases, create multiple connections.
- Schema: The Schema name.
- Extra Parameters: Additional connection parameters, defaults to empty.
- Username: The database username.
- Password: The password for the database user.
- logPluginName: To capture incremental data from KingbaseES-R6, follow the Prerequisites to install the required plugin.
- Advanced Settings:
- CDC Log Caching: Mining the source database's incremental logs, this feature allows multiple tasks to share incremental logs from the source database, avoiding redundant reads and thus significantly reducing the load on the source database during incremental synchronization. Upon enabling this feature, an external storage should be selected to store the incremental log.
- Contain Table: The default option is All, which includes all tables. Alternatively, you can select Custom and manually specify the desired tables by separating their names with commas (,).
- Exclude Tables: Once the switch is enabled, you have the option to specify tables to be excluded. You can do this by listing the table names separated by commas (,) in case there are multiple tables to be excluded.
- Agent Settings: Defaults to Platform automatic allocation, you can also manually specify an agent.
- Model Load Time: If there are less than 10,000 models in the data source, their schema will be updated every hour. But if the number of models exceeds 10,000, the refresh will take place daily at the time you have specified.
- Enable Heartbeat Table: When the connection type is set to source or target, this option can be enabled. TapData will create a heartbeat table in the source database (_tapdata_heartbeat_table) and update it every 10 seconds (the database user must have the required permissions). Once the data replication/development task starts, the heartbeat task will automatically start. You can view the heartbeat task in the data source edit page.
- Connection Settings:
Click Test, and after it passes, click Save.
tipIf the connection test fails, follow the on-screen prompts to resolve the issue.
Node Advanced Features
When configuring data synchronization/transformation tasks with KingbaseES-R6 as the target node, you can enable or disable the Ignore NotNull option (disabled by default), which allows you to ignore NOT NULL constraints when creating tables in the target database.