SelectDB

 TapData Cloud offers you cloud services that are suitable for scenarios requiring rapid deployment and low initial investment, helping you focus more on business development rather than infrastructure management. Free trial with TapData Cloud.
 TapData Enterprise can be deployed in your local data center, making it suitable for scenarios with strict requirements on data sensitivity or network isolation. It can serve to build real-time data warehouses, enable real-time data exchange, data migration, and more.
 TapData Community is an open-source data integration platform that provides basic data synchronization and transformation capabilities. This helps you quickly explore and implement data integration projects. As your project or business grows, you can seamlessly upgrade to TapData Cloud or TapData Enterprise to access more advanced features and service support.
TapData supports SelectDB Cloud as a real-time data source for analytics, reporting, and high-performance data warehouse integration.
SelectDB Cloud is a cloud-native real-time data warehouse built on Apache Doris. This document shows how to connect SelectDB in TapData to support real-time data sync, analytics, reporting, and building high-performance real-time data warehouses.
Supported Versions
SelectDB Cloud 2.0.13 and above
Preparations
Log in to SelectDB platform and grant privileges to the database username.
Grant all privileges to Specified DB:
GRANT ALL PRIVILEGES ON <DATABASE_NAME>.<TABLE_NAME> TO 'tapdata' IDENTIFIED BY 'password';
Grant global privileges:
GRANT PROCESS ON *.* TO 'tapdata' IDENTIFIED BY 'password';
Connect to SelectDB
In the left navigation panel, click Connections.
On the right side of the page, click Create.
In the pop-up dialog, select SelectDB.
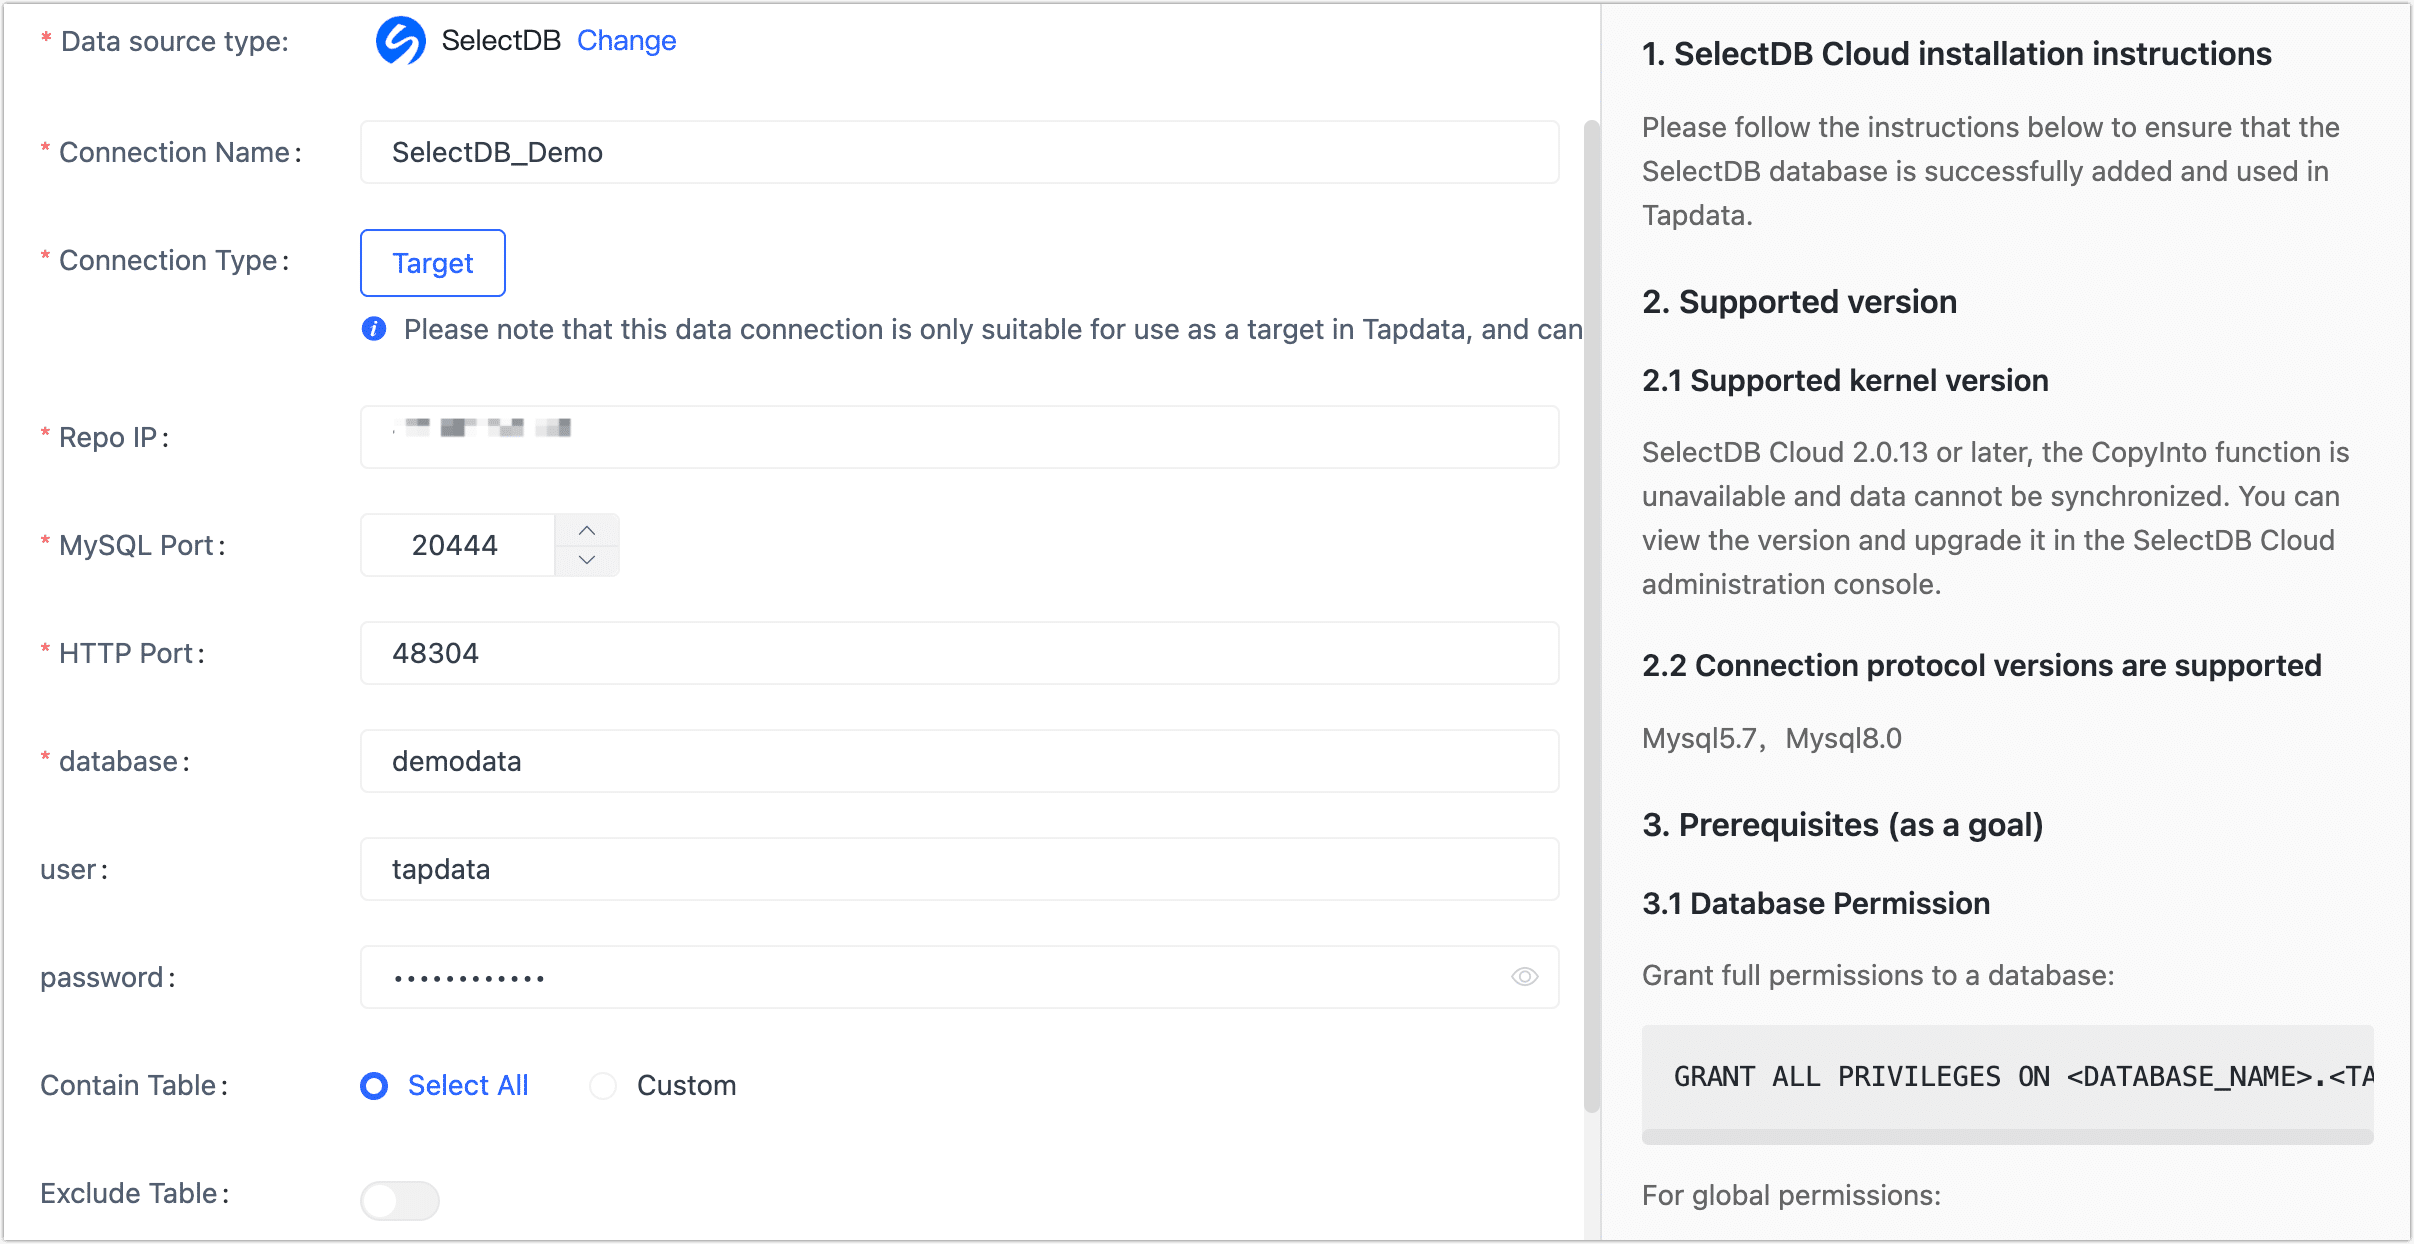
On the page that you are redirected to, follow the instructions below to fill in the connection information for SelectDB.

- Connection name: Fill in a unique name that has business significance.
- Connection type: Currently only supported as a Target.
- Repo IP: The public network connection address of the SelectDB's Warehouse.
- MySQL Port: The service port of database.
- HTTP Port: HTTP protocol port, for information about the address and how to obtain it, see the official documentation.
- Database: Database name, a connection corresponding to a database, if there are multiple databases, you need to create multiple connections.
- user, password: The database username and password.
- Contain table: The default option is All, which includes all tables. Alternatively, you can select Custom and manually specify the desired tables by separating their names with commas (,).
- Exclude tables: Once the switch is enabled, you have the option to specify tables to be excluded. You can do this by listing the table names separated by commas (,) in case there are multiple tables to be excluded.
- Agent settings: Defaults to Platform automatic allocation, you can also manually specify an Agent.
Click Test Connection, and when passed, click Save.
tipIf the connection test fails, follow the prompts on the page to fix it.
Common Errors
"Unknown error 1044" appears in the dialog after the connection test.
If the correct permissions have been granted, can be checked and fixed by:
Execute the following command to see if the value of the Grant_priv field is Y, where username needs to be replaced with the real user name.
SELECT host,user,Grant_priv,Super_priv FROM Doris.user where user='username';
If the value is not Y, execute the following command, where username needs to be replaced with the real username.
UPDATE Doris.user SET Grant_priv='Y' WHERE user='username';
FLUSH PRIVILEGES;