HubSpot
HubSpot's CRM platform contains the marketing, sales, service, operations, and website-building software you need to grow your business. TapData Cloud supports building data pipelines with HubSpot as the source database, allowing you to read HubSpot operational data and sync it to a specified data source. This document explains how to add a HubSpot data source in TapData Cloud.
Connect HubSpot
In the left navigation panel, click Connections.
On the right side of the page, click Create.
In the pop-up dialog, search for and select HubSpot.
Complete the data source configuration as per the following instructions.
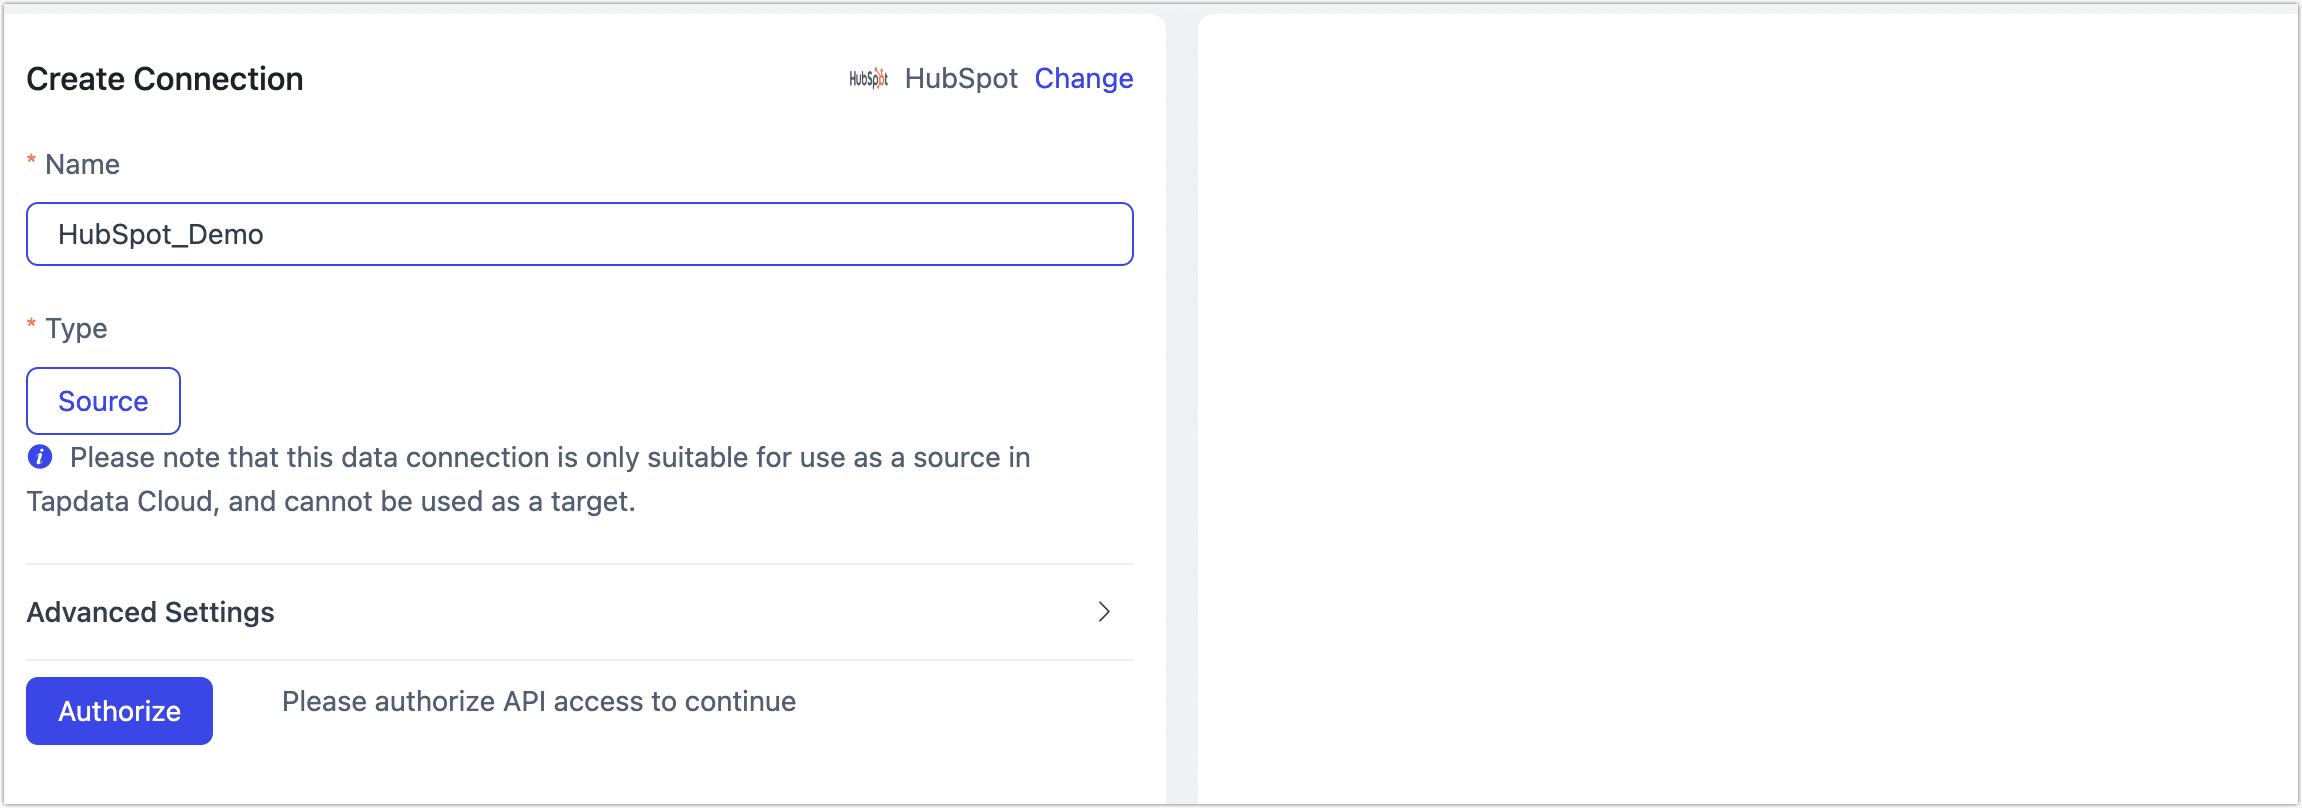
- Connection Name: Enter a unique name with business significance.
- Connection Type: Only Source is supported.
- Advanced Settings
- Agent settings: Defaults to Platform Automatic Allocation, you can also manually specify an agent.
- Model load time: If there are less than 10,000 models in the data source, their information will be updated every hour. But if the number of models exceeds 10,000, the refresh will take place daily at the time you have specified.
Click Authorize. On the redirected HubSpot authorization page, log in and select the account you want to authorize.
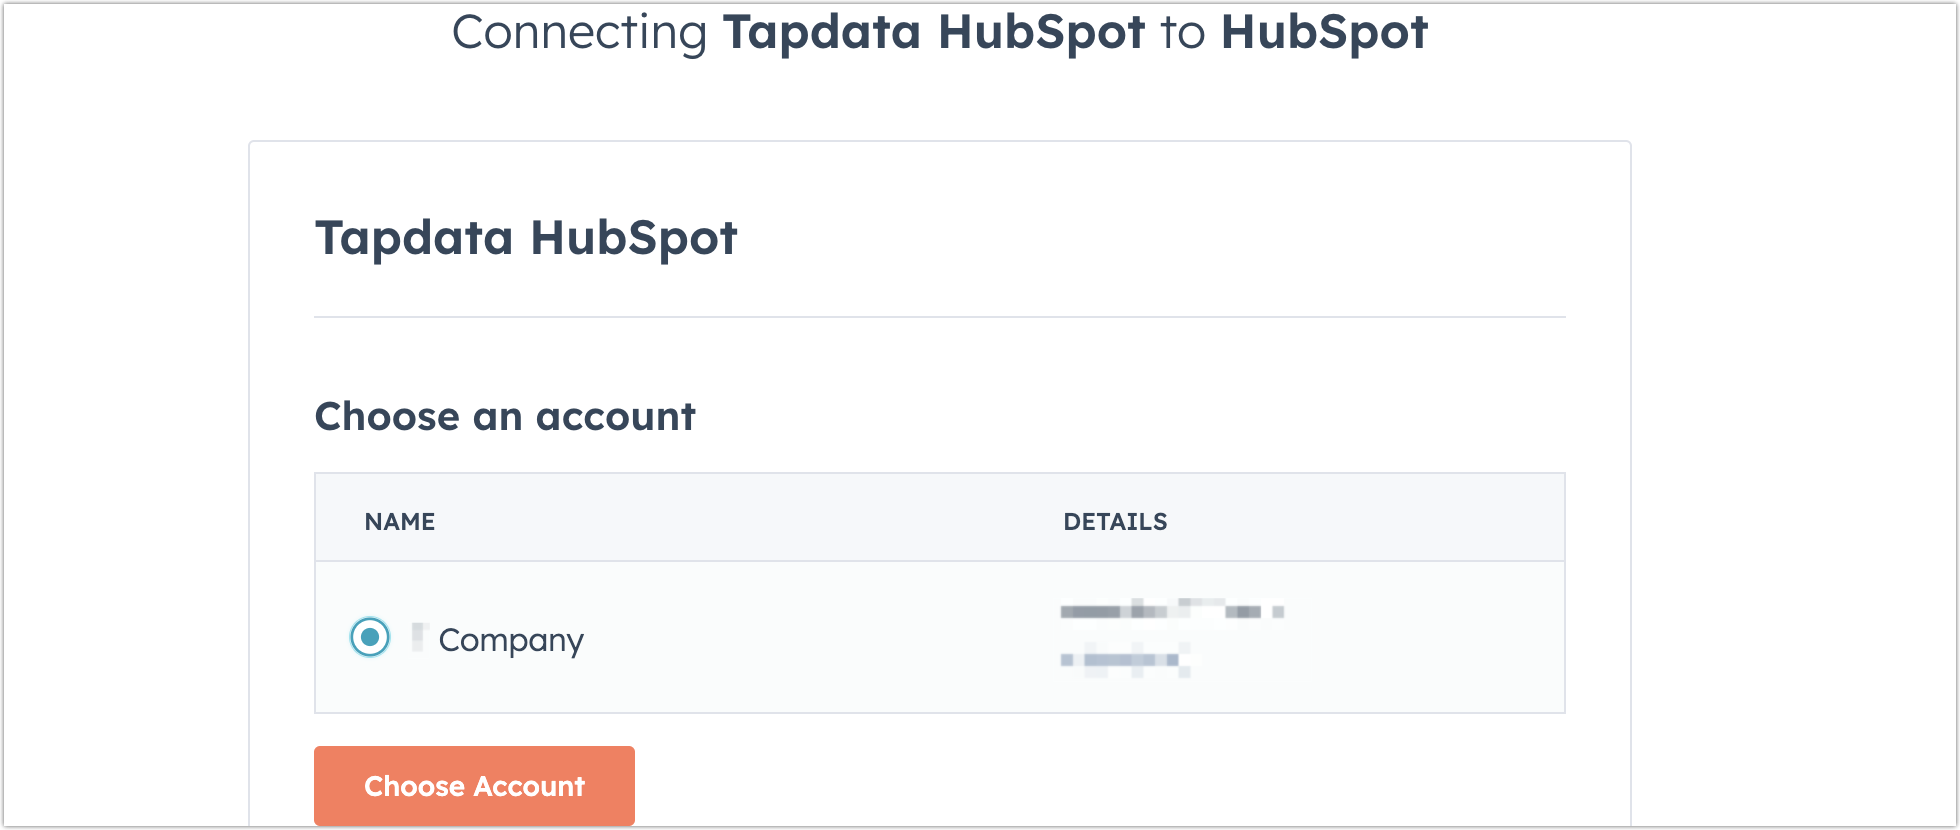
After completing the operation, the page will automatically return to the data source configuration page, displaying Successfully Authorized.
Click Connection Test. After passing the test, click Save.
tipIf the connection test fails, please follow the prompts on the page to fix the issue.