Step 2: Connect Data Sources
Once you have installed the Agent, you need to connect the Agent to the data sources through Tapdata Cloud, and you can create a data pipeline once the connection has been established.
Before connecting to the data sources, you also need to ensure that the network environment is accessed properly and complete the authorization of the database account. For more information, see Preparation.
Procedure
Log in to Tapdata Cloud.
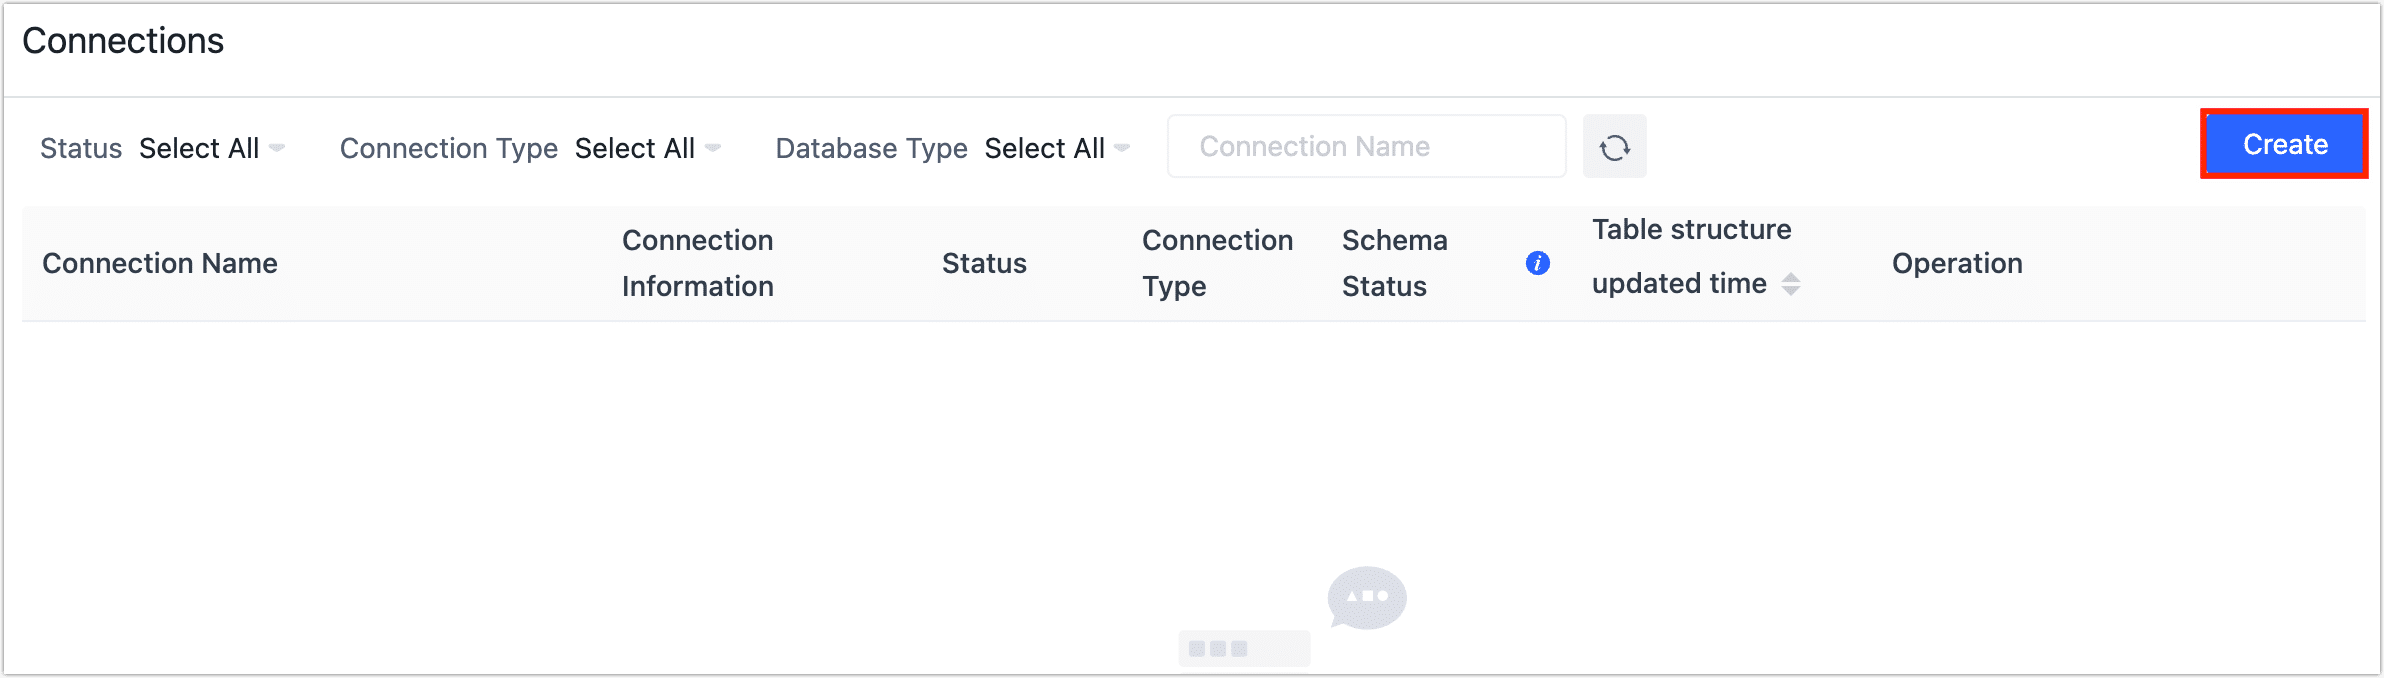
In the left navigation panel, click Connections.
On the right side of the page, click on Create. A dialog box will appear, where you can select the desired data source to establish a connection with.
After being redirected to the connection configuration page, proceed to fill in the required data source connection information.
On the right panel of the page, you will find helpful information and guidance regarding the configuration of the connection.
tipThe operation process will be demonstrated using MySQL as an example. For more examples, see Connect Data Sources.
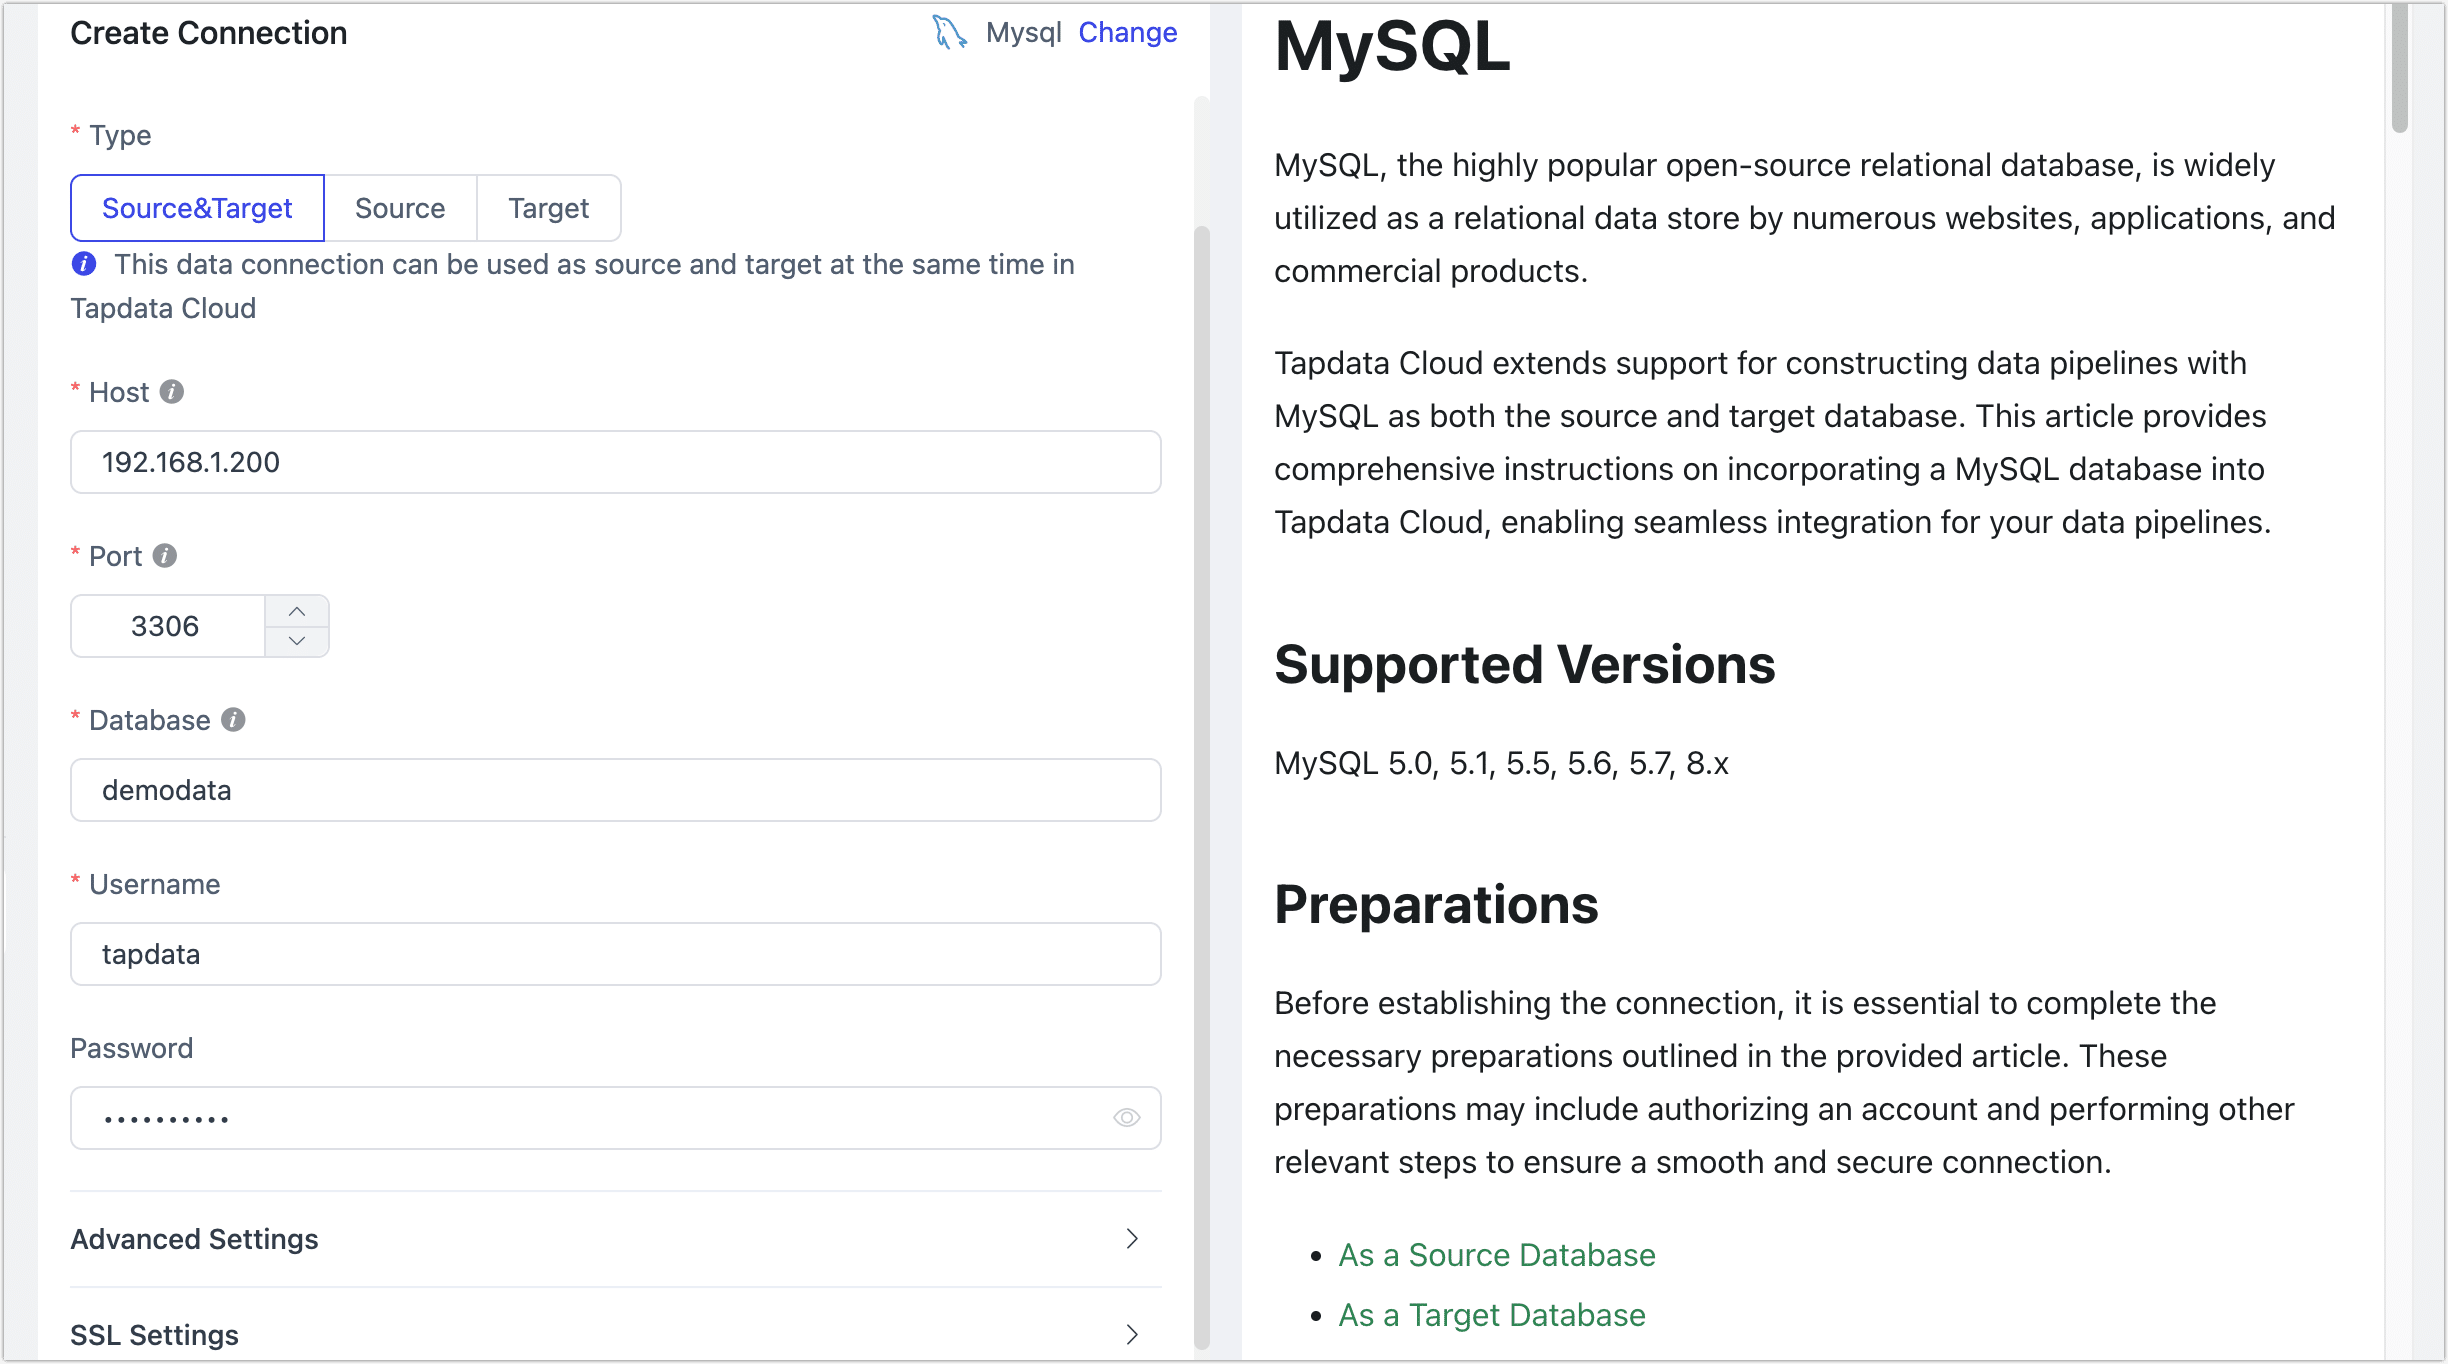
- Connection name: Enter a unique name that holds business significance.
- Connection type: Select Source, Target, or Source&Target.
- Host: The database connection address.
- Port: The service port of database.
- Database: database name, a connection corresponding to a database, if there are multiple databases, you need to create multiple connections.
- username: Enter database server username.
- Password: The database password.
- Connection Parameter String: Additional connection parameters, default empty.
- timezone: Defaults to the time zone used by the database, which you can also manually specify according to your business needs.
- Contain table: The default option is All, but you also have the choice to select Custom and specify the included tables. If there are multiple tables, separate them by commas (,) when filling in the table names.
- Exclude tables: Once you have enabled the switch, you can configure the tables to be excluded by specifying their names, separated by commas (,) if there are multiple tables.
- Agent settings: Defaults to Platform automatic allocation, you can also manually specify an agent.
Click Connection Test at the bottom of the page, and when passed the check, click Save.
tipIf the connection test fails, follow the prompts on the page to fix it.